The Google Sheets IF function is one of the most fundamental tools in spreadsheets because it allows you to make decisions based on conditions. Instead of manually checking values and labeling results, IF lets your spreadsheet “think” logically. At its core, the IF function evaluates whether a condition is true or false, then returns one result if it’s true and a different result if it’s false. This makes it essential for budgets, trackers, dashboards, grades, attendance sheets, and nearly every real-world spreadsheet use case.
Many beginners think of IF as a “formula you memorize,” but it’s more helpful to understand it as a decision rule. Once you understand how that rule works, you can combine IF with other functions to build powerful, automated spreadsheets that update instantly when data changes.
How Does the IF Function Work in Google Sheets?
The IF function follows a simple logical structure: test something, then decide what to show. Google Sheets checks a condition you define, such as whether a number is greater than 100 or whether a cell contains specific text. If the condition is true, one value is returned. If it’s false, another value is returned.
This structure is what makes IF so flexible. The “result” doesn’t have to be text; it can be a number, another formula, a blank cell, or even another IF function. That flexibility is why IF is used everywhere from simple to-do lists to advanced financial models.
One important detail that beginners often miss is that IF does not “loop” or keep checking repeatedly. It evaluates once per cell, based on the current values. When those values change, the result updates automatically.
IF Function Syntax Explained in Plain English
The syntax of the IF function looks like this:
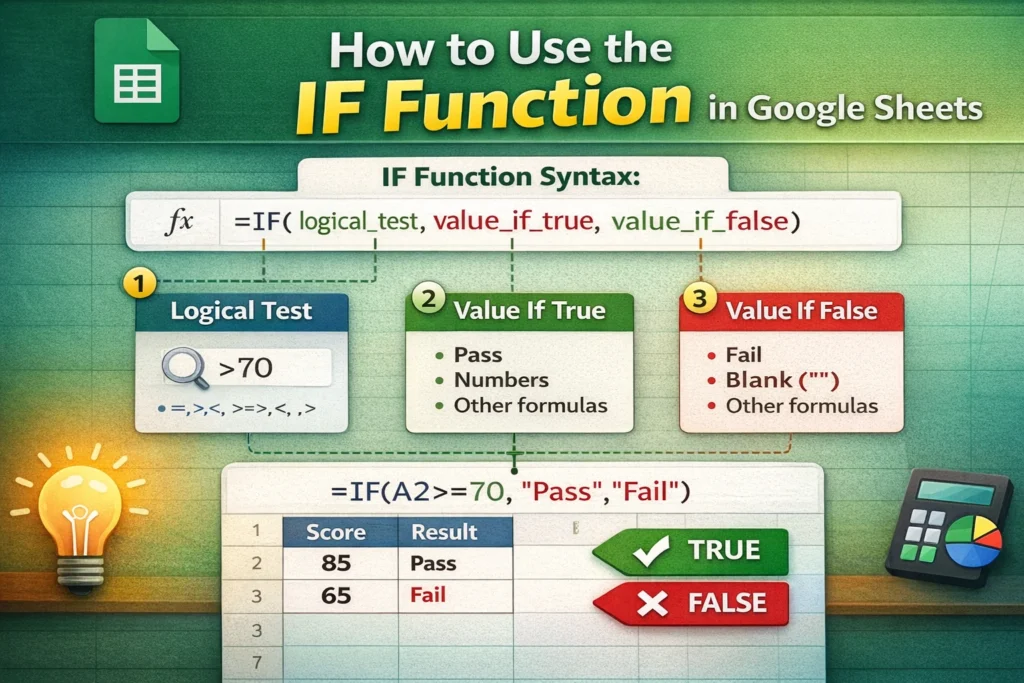
IF(logical_test, value_if_true, value_if_false)
The logical test is the question you’re asking, such as “Is this value greater than 50?” The value_if_true is what you want to show when the answer is yes. The value_if_false is what you want to show when the answer is no.
Understanding this structure makes troubleshooting much easier. If your formula isn’t working, it’s usually because the logical test isn’t written correctly, or because the true/false values don’t match what you expect to return.
Basic IF Formula Examples
Below are simple examples that demonstrate the most common ways people use the IF function.
IF Formula Examples
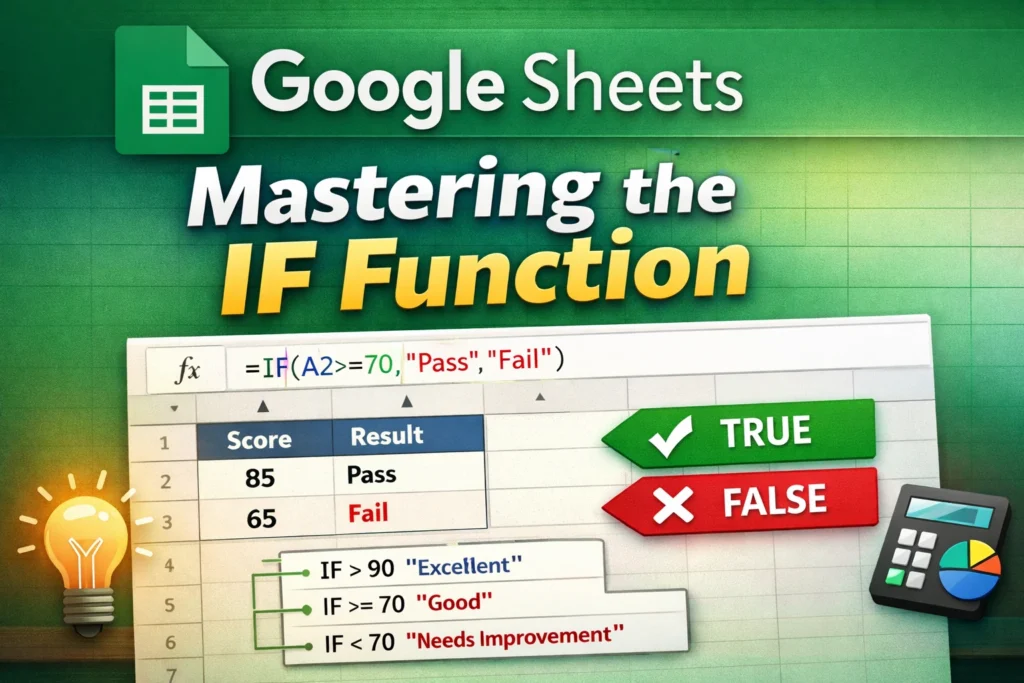
=IF(A1>=60,”Pass”,”Fail”)
This checks whether the value in A1 is 60 or higher. If it is, the result is “Pass.” Otherwise, it shows “Fail.”
=IF(B2=”Yes”,1,0)
This converts a text response into a numeric value, which is useful for summaries and charts.
=IF(C3=””, “”, C3*0.1)
This prevents calculations from appearing until data is entered, keeping spreadsheets clean and user-friendly.
How Do You Use IF with Numbers, Text, and Dates?
The IF function works with all common data types, but each has small nuances. With numbers, comparisons like greater than, less than, or equal to are straightforward. With text, comparisons are case-insensitive in Google Sheets, which means “yes” and “Yes” are treated the same unless you use additional functions.
Dates are often misunderstood. In Google Sheets, dates are stored as numbers behind the scenes. This means you can use IF to compare dates just like numbers, such as checking whether a due date is before today. This is especially useful for deadline trackers, project plans, and bill reminders.
How Do Nested IF Statements Work, and When Should You Avoid Them?
A nested IF is simply an IF function placed inside another IF function. This allows you to evaluate multiple conditions in sequence. For example, you might want to label scores as “Excellent,” “Good,” or “Needs Improvement” instead of just pass or fail.
Nested IF Formula Example
=IF(A1>=90,”Excellent”,IF(A1>=70,”Good”,”Needs Improvement”))
While nested IFs are powerful, they can quickly become hard to read and maintain. A practical rule is to avoid nesting more than two or three levels deep. When logic becomes complex, functions like IFS or SWITCH are usually clearer and less error-prone. This is a key usability improvement that many top-ranking articles mention only briefly, but it can significantly improve spreadsheet readability.
What Are Common IF Function Mistakes and How Can You Fix Them?
One common mistake is forgetting quotation marks around text results, which causes errors. Another is mixing text and numbers unintentionally, such as comparing a number to a text value that looks like a number. Logical tests must be precise, or the IF function may always return false.
A lesser-known issue is returning inconsistent data types. For example, returning text in one branch and numbers in another can cause problems later when you try to sum or chart the results. A best practice is to keep output types consistent whenever possible.
How Does IF Compare to Related Functions Like IFS, COUNTIF, and SUMIF?
The IF function evaluates one condition per formula, while IFS evaluates multiple conditions without nesting. COUNTIF and SUMIF, on the other hand, don’t return labels or decisions; they count or sum values that meet a condition.
Understanding this distinction helps you choose the right tool. IF is ideal when you want to label or transform individual rows. COUNTIF and SUMIF are better for summaries and reports. Many beginners misuse IF when a summary function would be simpler and more efficient.
What Are the Limitations of the IF Function in Google Sheets?
While IF is versatile, it isn’t always the best solution. Complex logical rules can become unreadable with nested IFs. IF also doesn’t handle arrays elegantly unless combined with ARRAYFORMULA, which is a powerful but often overlooked capability.
A useful advanced tip not commonly highlighted is that IF recalculates frequently in large sheets, which can impact performance. In very large datasets, using helper columns or summary formulas can improve speed and maintainability.
When Should You Use IF in Real-World Spreadsheets?
IF is best used when you need clear, rule-based outcomes: status labels, eligibility checks, warnings, or conditional calculations. It shines in dashboards, trackers, and templates where users input data and expect instant feedback.
For Sheetrix-style templates, IF is especially valuable when paired with conditional formatting. The formula determines the result, and formatting visually reinforces it, creating spreadsheets that are both functional and intuitive.
Key Takeaways for Mastering the Google Sheets IF Function
The IF function is less about memorizing formulas and more about learning to think logically in spreadsheets. Once you understand how conditions, true results, and false results work together, you can apply IF to nearly any scenario. Start simple, avoid unnecessary nesting, and choose related functions when they better fit the task. With that approach, the IF function becomes a reliable foundation for building smarter, more automated Google Sheets.